
Adding a Weekly Plan
The system allows you to add a weekly plan on the main platform through the system administrator’s account by following the following steps
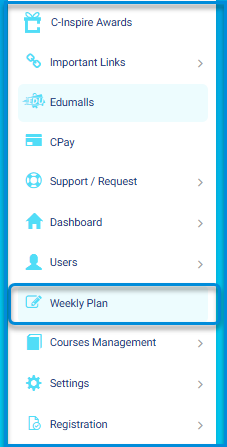
- Click on the Weekly Plan button from the side menu.
The Weekly Plan page allows you to search for study plans set by teachers during a specific period.
- After clicking, the system moves to the Weekly Plan screen, which contains a button to add a new weekly plan.
- The Weekly Plan screen contains a table showing all available weekly plans on the platform.
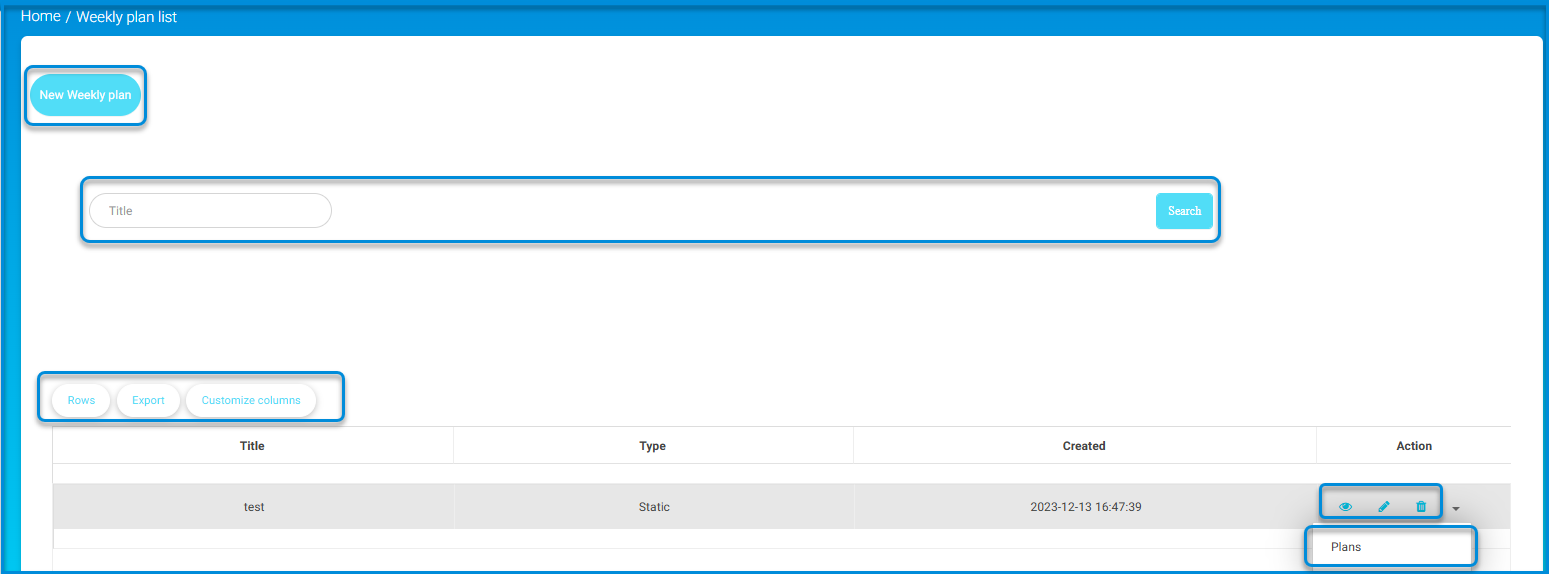
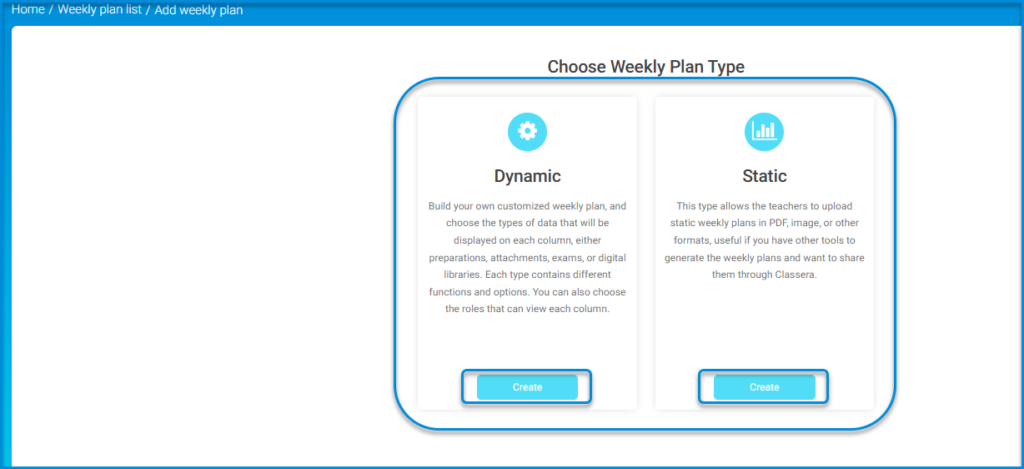
- Click on the button to add a new weekly plan to display the screen for selecting available types of weekly plans.
- Choose the appropriate type of weekly plan (Dynamic or Static ).
Dynamic weekly #
- When choosing a dynamic weekly plan, click the Add button to display the dynamic weekly plan screen.
- A screen appears containing two tabs: Settings tab and Columns tab.
- First, dynamic weekly plan settings:
- Add the main title of the plan in the appropriate title field.
- Add the secondary title of the plan in the appropriate secondary title field.
- Select the appropriate level choice from the level field.
Note: You must click on the Show Material Icon button and the Show Time Slot Column button.
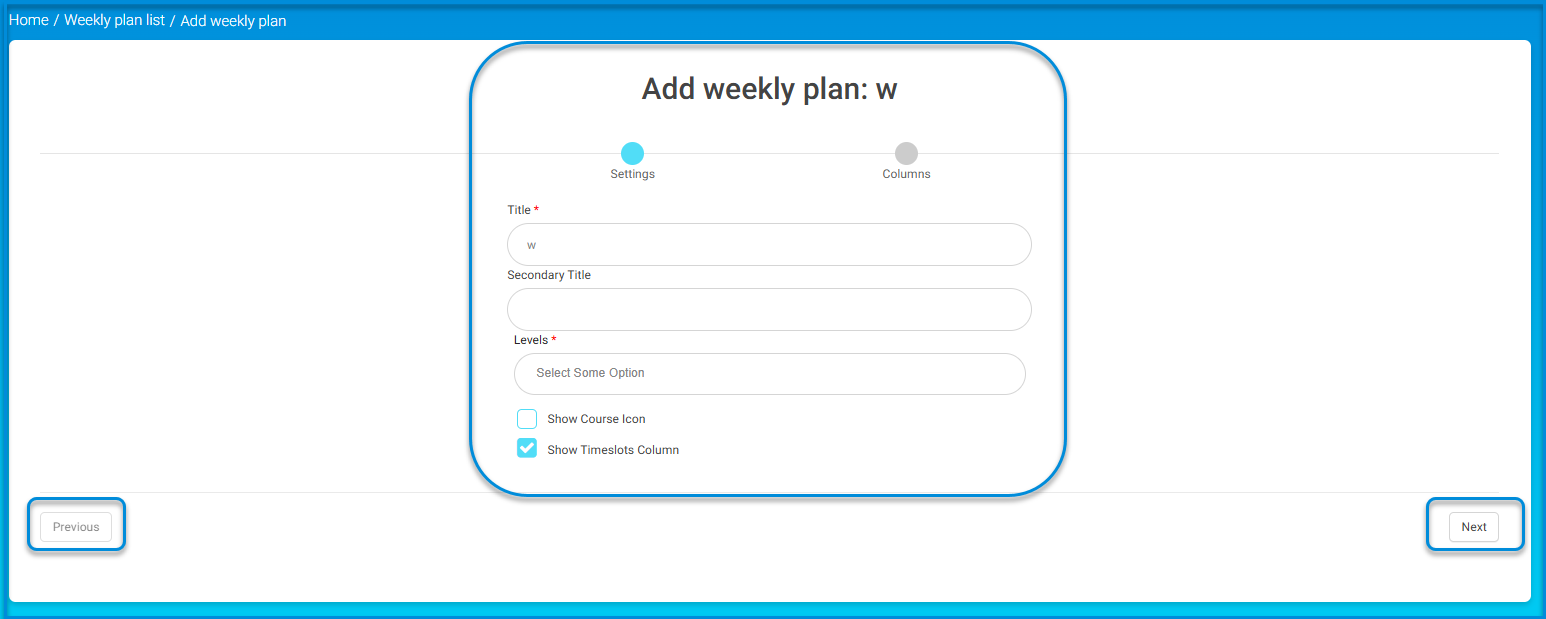
- Click on the Next button at the bottom left of the screen to move to adding columns.
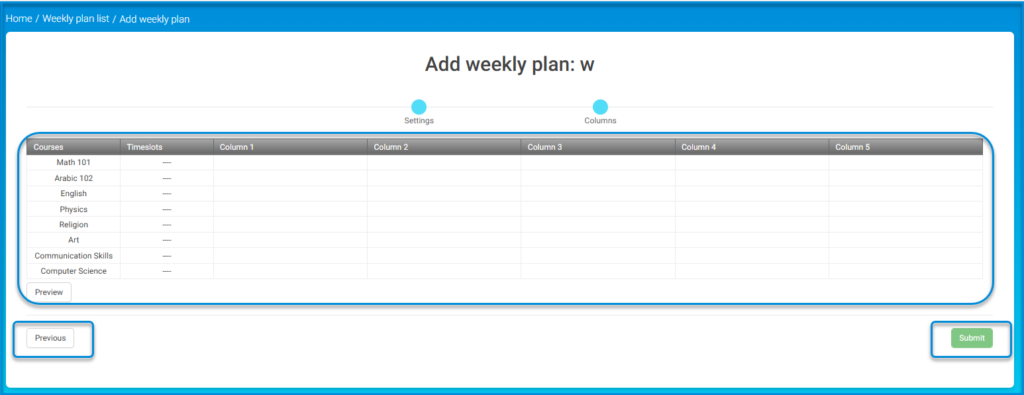
- Secondly, column settings:
• A table appears containing courses, time slots, and columns assigned to each course, and you can add or delete any of the columns by clicking on the column.
• When clicking on the column, a side menu appears on the left side of the screen containing the column’s settings.
• There are tabs to add a new column by clicking on them and a tab to delete a column by clicking on it.
• Click on each column for modification and selection of title, subject, and groups associated with it.
• You may need to select the classes you want to add to the plan and specify basic information such as weekdays and study hours.
• You can specify the type and content for each column, whether lectures, assignments, or tests, and fill in the necessary details for each type.
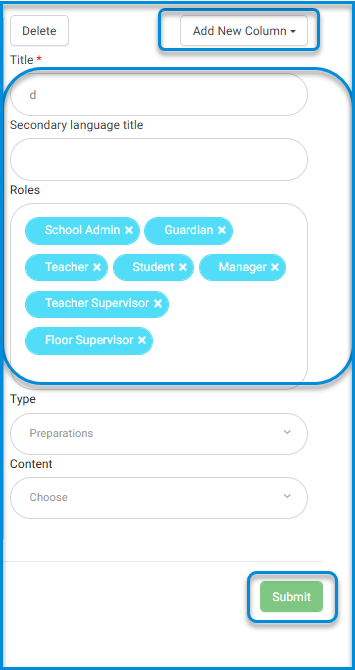
7-After completing all settings and details, click the Submit button to save the new weekly plan and make it ready for use.
Access the Weekly Plan: #
iew Weekly Plans:
- The system displays all weekly plans in a table with the following columns:
- Plan Title
- Type
- Date
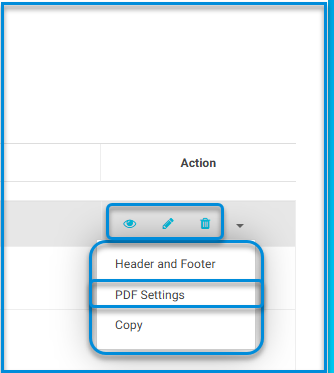
- Action
- Settings dropdown menu, which includes:
- Header and footer settings
- PDF settings

View Specific Weekly Plan:
- Click on the “View” button (eye icon) for the weekly plan you wish to see.
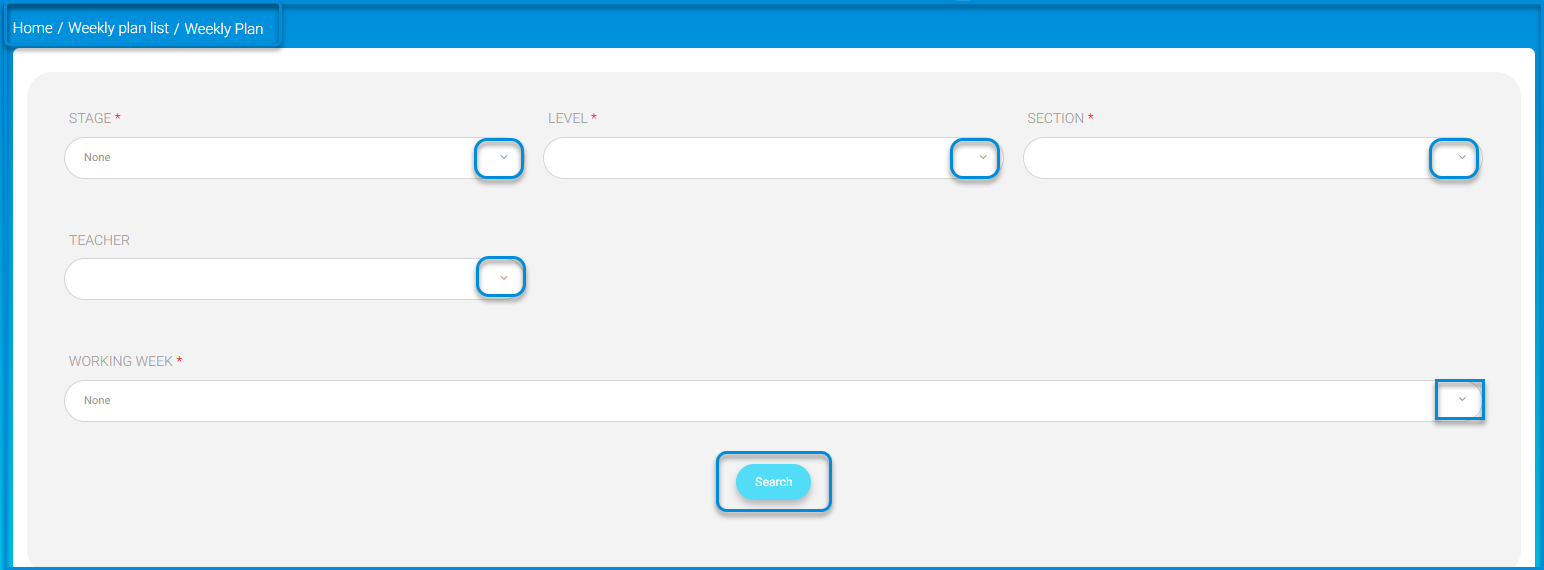
- The system transitions to the viewing settings screen, where you:
- Select the stage from the “Stage” dropdown menu.
- Choose the class level from the “Level” dropdown menu.
- Pick the section from the “Section” dropdown menu.
- Select the teacher from the “Teacher” dropdown menu.
- Choose the specific working week of the plan.
- Click on the “Search” button to display the plan.
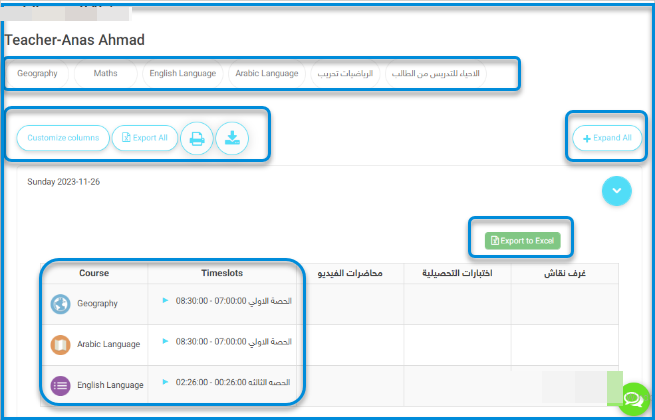
Interacting with the Displayed Plan:
- The selected weekly plan appears below the search bar.
- Click on the arrow indicator to expand and view detailed plan information.
- To export the plan details to an Excel file, click on the “Export to Excel” button.
Note: To view all weekly plans, click on the “Show All” button.
To search for a weekly plan, fill in the search engines below: After you finish searching, you can
- Download the weekly plan as a PDF.
- Click the Size button to view only the basics columns without details and the following columns disappear:
- Objectives
- Attachments
- Exams
- Online Assignment
- Timeslots
- Access the data you selected by subject.
- Export the weekly plan to Excel.


