Table of Contents
The system allows you to add users and subject supervisors on the main platform through the system administrator account, thus following these steps: -The supervisor account is important for following up and keeping track of the educational process and the learning progress.
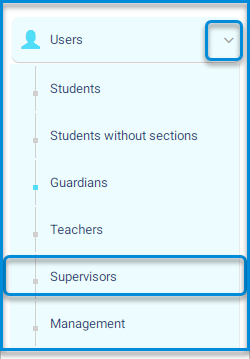
Main Menu >> Users >> Supervisors
- The supervisors’ screen contains a table with user data to establish their connection with supervisors and lectures.
- Click on the add supervisor button.
- The system moves to the screen for setting up data for adding supervisors.
Supervisors Page Content:1 #
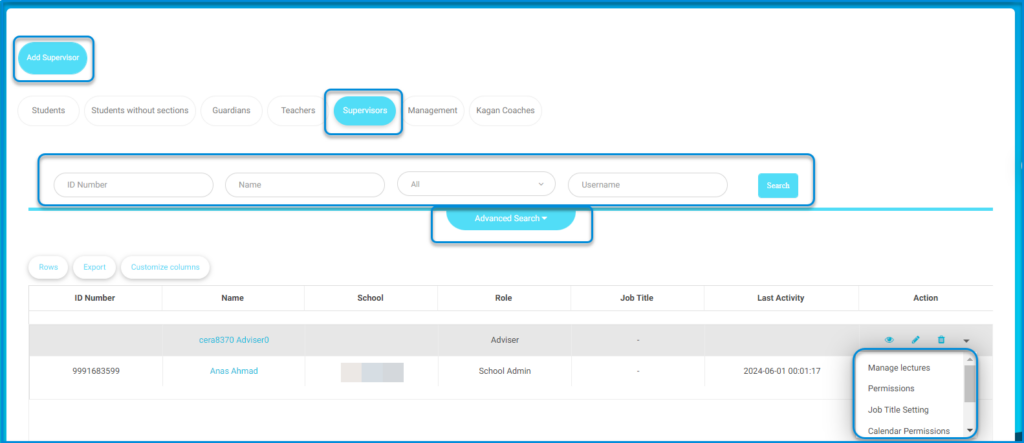
- The Add Supervisor button to add supervisors individually.
- The Search fields to search for a specific supervisor.
- A table of all the school’s supervisors alongside their data.
- The Action column in the table to view, edit and delete the supervisor, in addition to a small arrow where you can :
- Manage Lectures to assign specific lectures of teachers to the supervisor chosen to follow up on them.
- Manage Permissions to add specific roles to the supervisor chosen and select the school where he/she is taking that role.
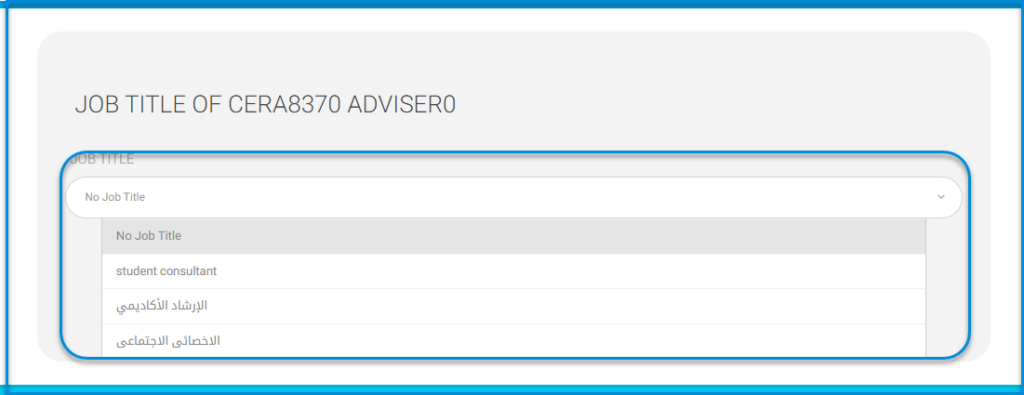
- Manage Job Title Settings to add a job title to the supervisor chosen.
- Manage Behaviors to add a positive or negative behavior to the supervisor chosen.
add supervisor #
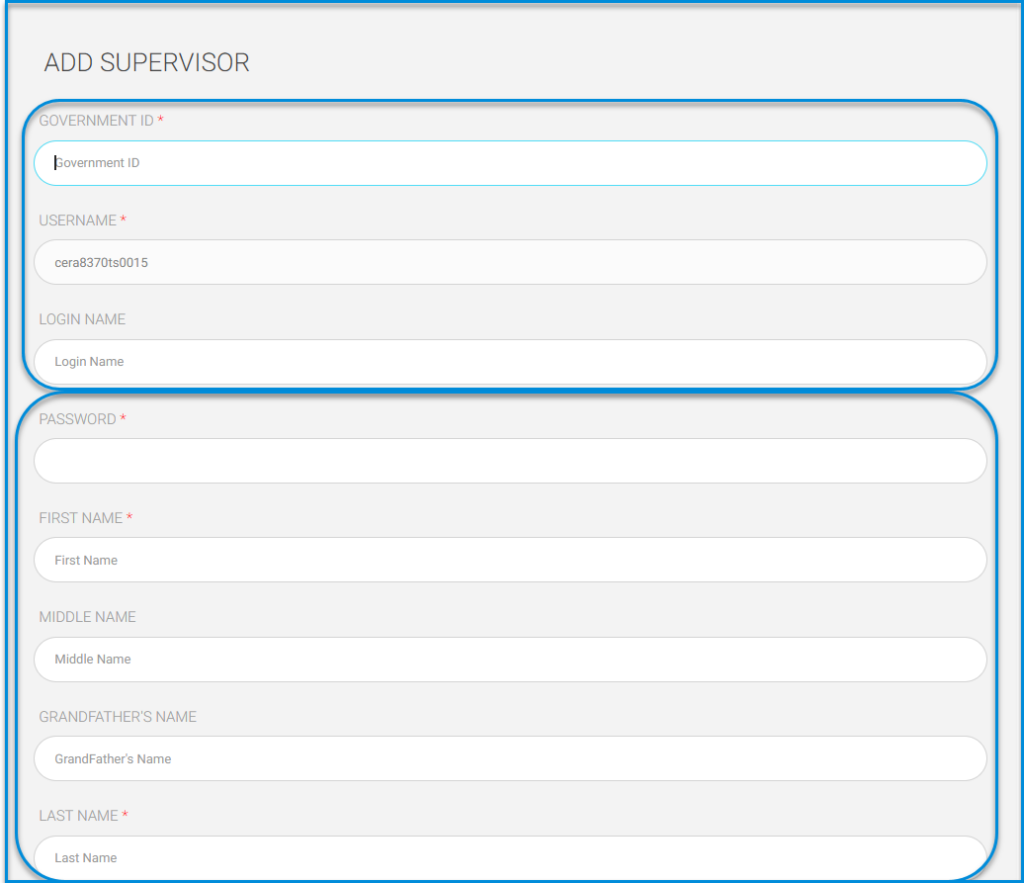
- Enter data in their respective fields:
- ID NUMBER.
- USERNAME.
- LOGIN NAME.
- PASSWORD.
- FIRST NAME.
- MIDDLE NAME.
- LAST NAME.
- SURNAME.
- NAME IN ARABIC.
- DATE OF BIRTH.
- PLACE OF BIRTH.
- ADDRESS.
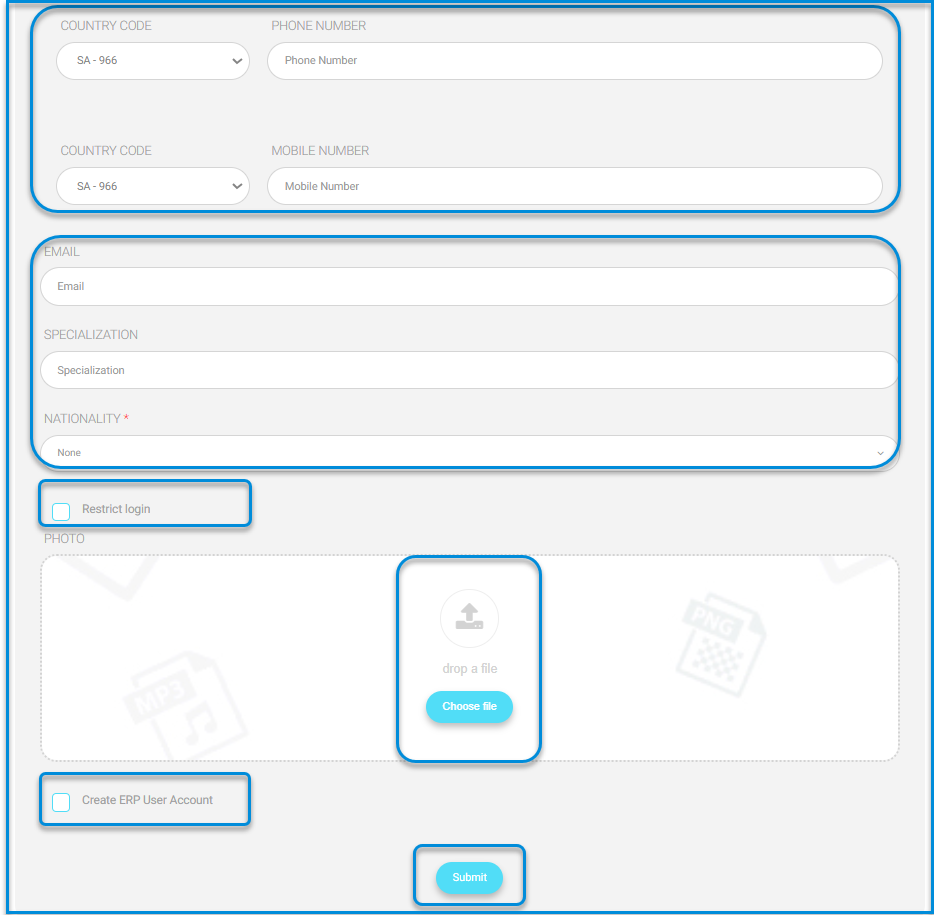
- EMAIL.
- SPECIALTIZATION.
- NATIONALITY.
- Click on the Restrict login button to prevent login by the school.
- Click on the Create ERP User Account button in the HR system.
- After completion, click on the submit button.

Manage lectures #
- ick on the user drop-down menu from the users’ table on the main supervisors’ screen.
- Click on the Manage lectures button.
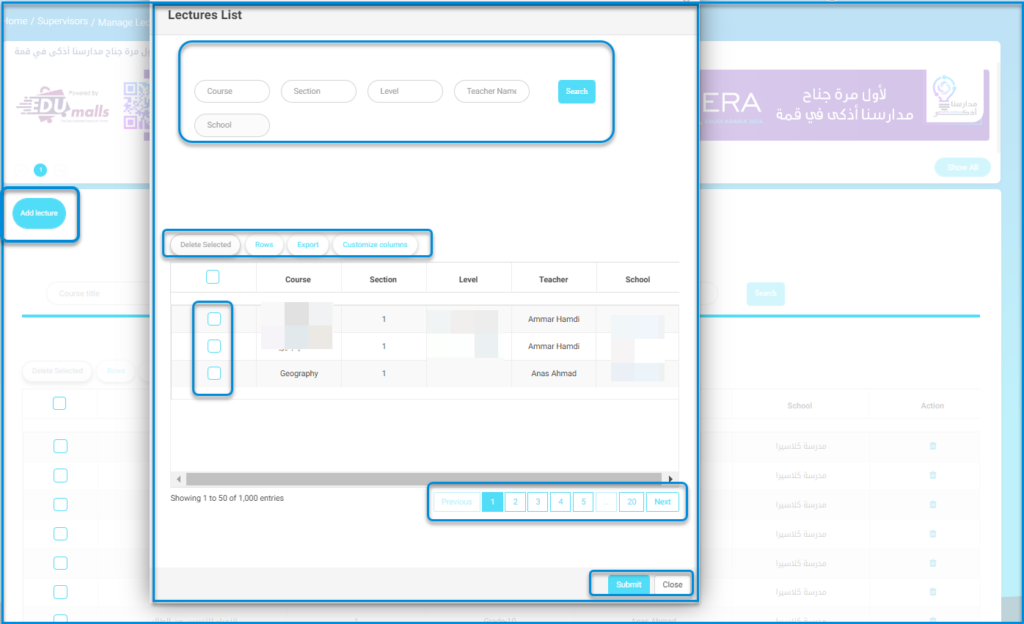
- The screen contains an add lecture button and a search engine for subjects, and a table containing all subjects on the main platform.
- lick on the Add lecture button.
- Select the desired subjects.
- After completion, click on the submit button.
- Note: After this process, lectures for the required subjects for the user have been defined.