Adding preparation plans helps you as a teacher organize your lectures and run your classes smoothly, which will positively affect your students’ understanding and, in turn, their outcomes.
You can then start adding a lesson plan for the subject by clicking on “Add Lesson Plan.”
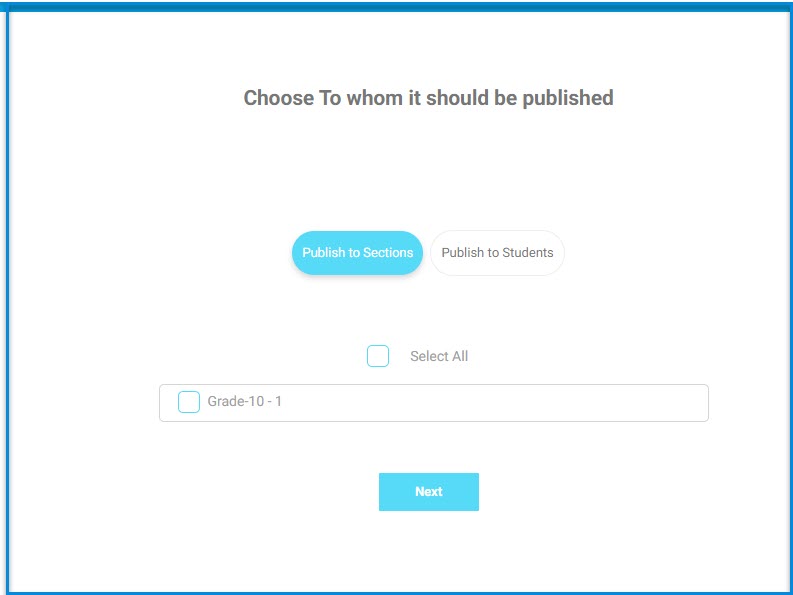
• The system allows you to import previous content from an import content, and the following image appears to choose the class or a specific student. By clicking on the next button, you can upload the content.
• Note: The file must be compressed.
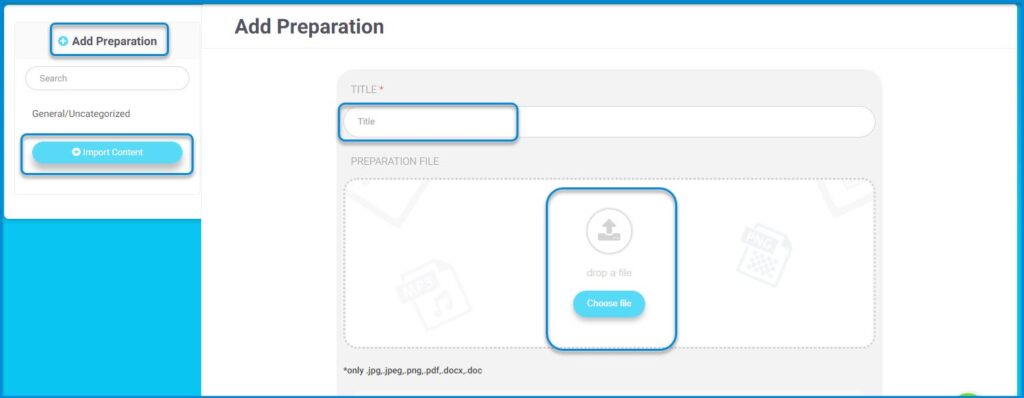
3-Select the “lesson” you want to link to the subject’s preparation. Upload the paper preparation *only. .jpg, .jpeg, .png, .pdf, .docx, .doc.

4-These are the standards associated with this lesson.
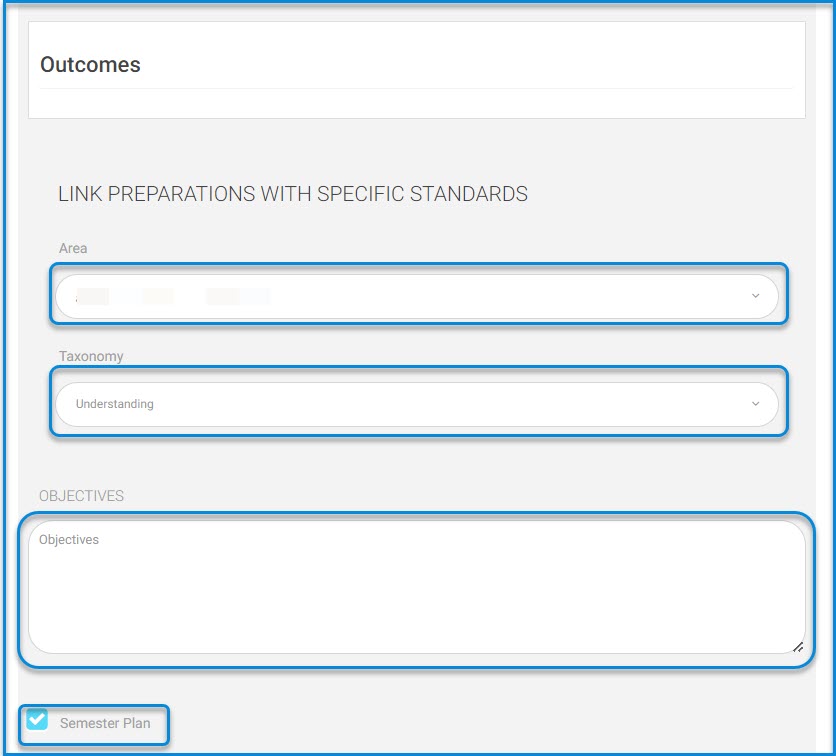
- To link the preparation to specific “standards,” choose a “field” and then select the “standards” you want to link to this preparation.
- Then link the preparation to one of the “educational levels” (Knowledge – Application – Analysis).
- Set “Learning Objectives.” Note that steps 3 to 6 will not be enabled on your account unless the system administrator links the subject to the subject template that includes the fields and standards.
- If this preparation will be a complete “semester plan,” click on this button.
- Set “Procedures and Assessments.”
- Put your strategies; add thinking skills as an image, link, text, or recorded voice, then select the educational media used in learning.
11-Add your notes to the weekly curriculum plan. (Students and parents will see it.)
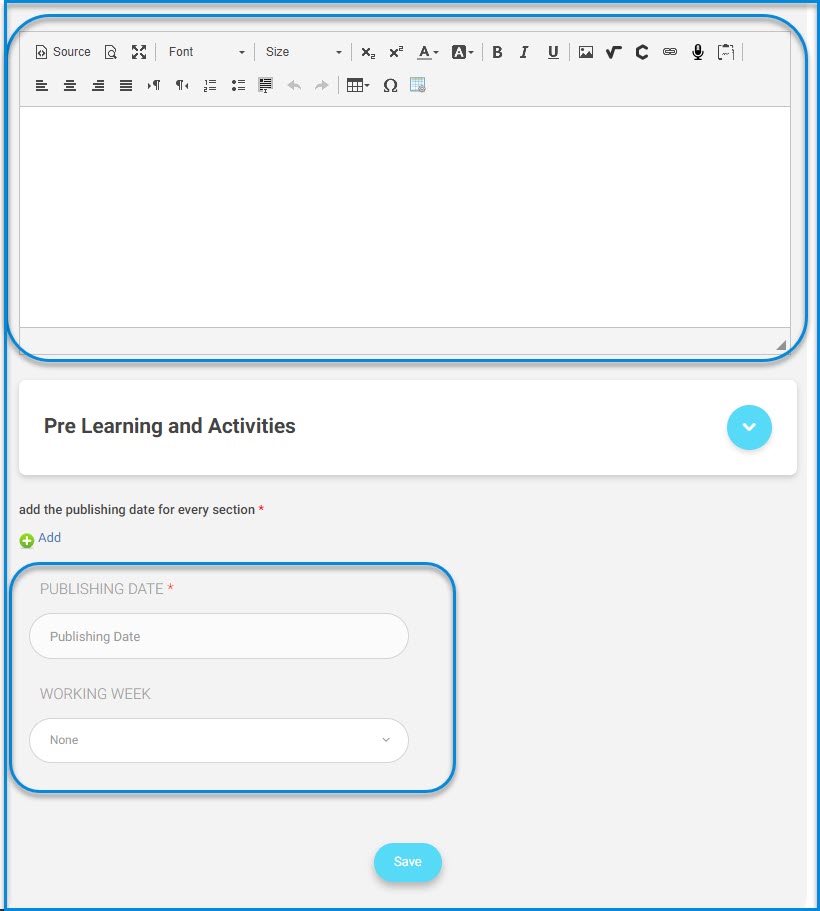
Put your strategies.
12. Put your learning requirements (pre-learning). These are the tools or educational requirements that the student must have at least to start the learning process for a specific subject or course.
13. Put the “Activities” related to this preparation.
14. Add the “publication date” for the subject preparation. And select the check box next to the subjects and classes to which this preparation will be published.
15. Click “Save” to save all these actions.


